
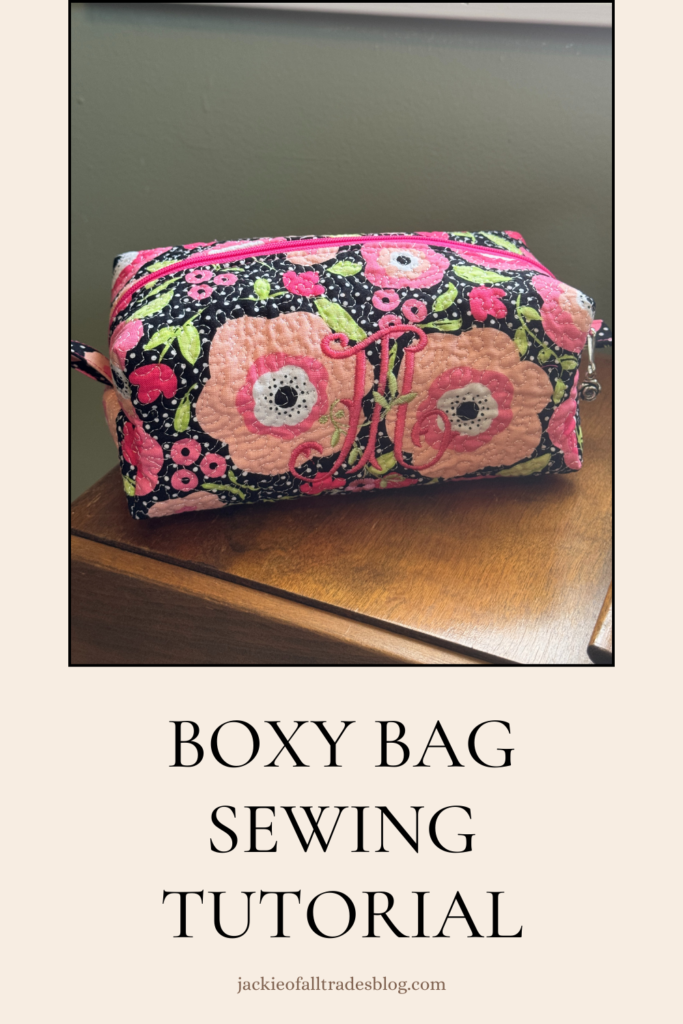
Today, I’m excited to show you how to make this zippered boxy bag. It’s perfect for gifting or to make for yourself. You can follow along with my video tutorial at the end of this post or use the instructions below.
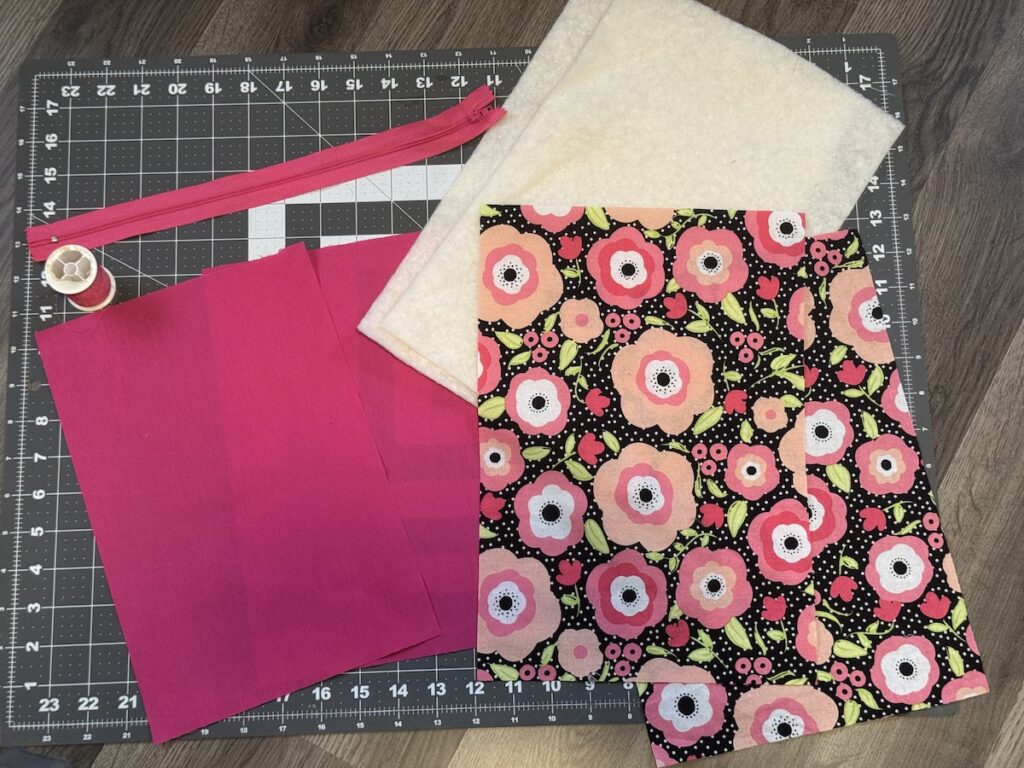
Materials Needed
- 2 Pieces of Outer Fabric, 7 3/4 inches x 11 1/2 inches
- 2 Pieces of Lining Fabric, 7 3/4 inches x 11 1/2 inches
- 2 Pieces of Batting, 7 3/4 inches x 11 1/2 inches
- 1 Piece of Outer Fabric, 6 inches x 2 1/2 inches
- Zipper, at least 12 inches or longer
- Thread
- Scissors
- Clips or Pins
- Rotary Cutter
- Mat
- Marking Pen, Chalk, or Pencil
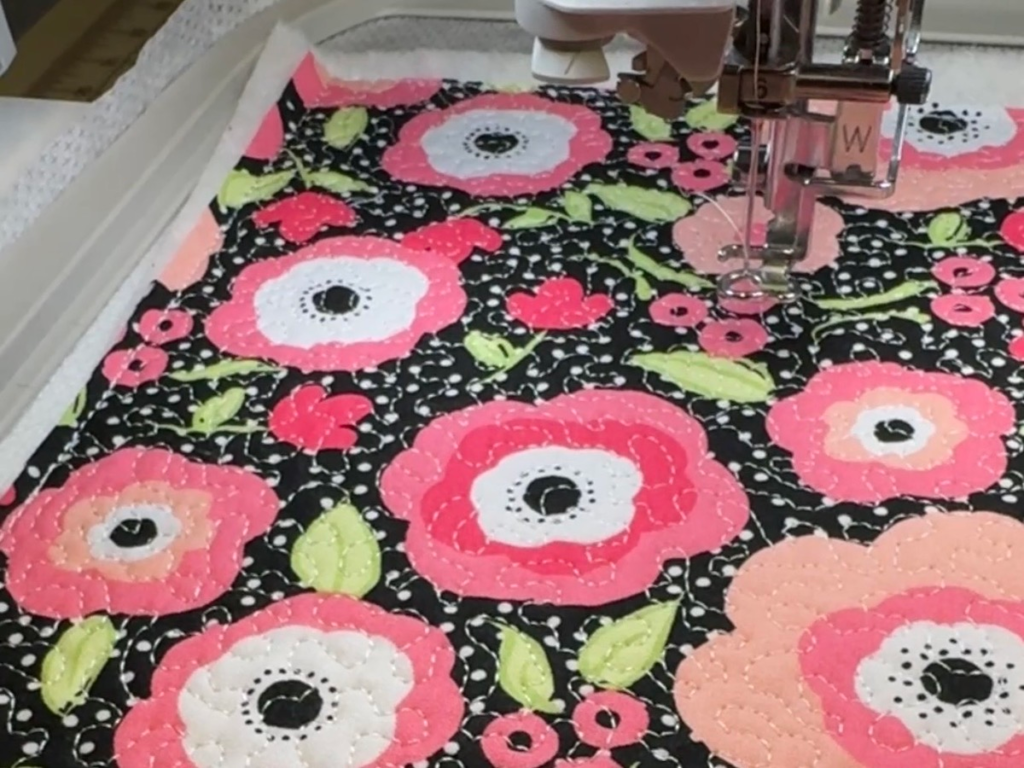
Step 1: Prep the Fabric
Press all your fabric before cutting and use a rotary cutter and mat to make cutting easier.
I recommend quilting the outer fabric pieces to the batting pieces. I used my embroidery machine to quilt them together. However, you can easily make straight lines of stitching at even increments. I also added a monogram initial to one piece of outer fabric during this step
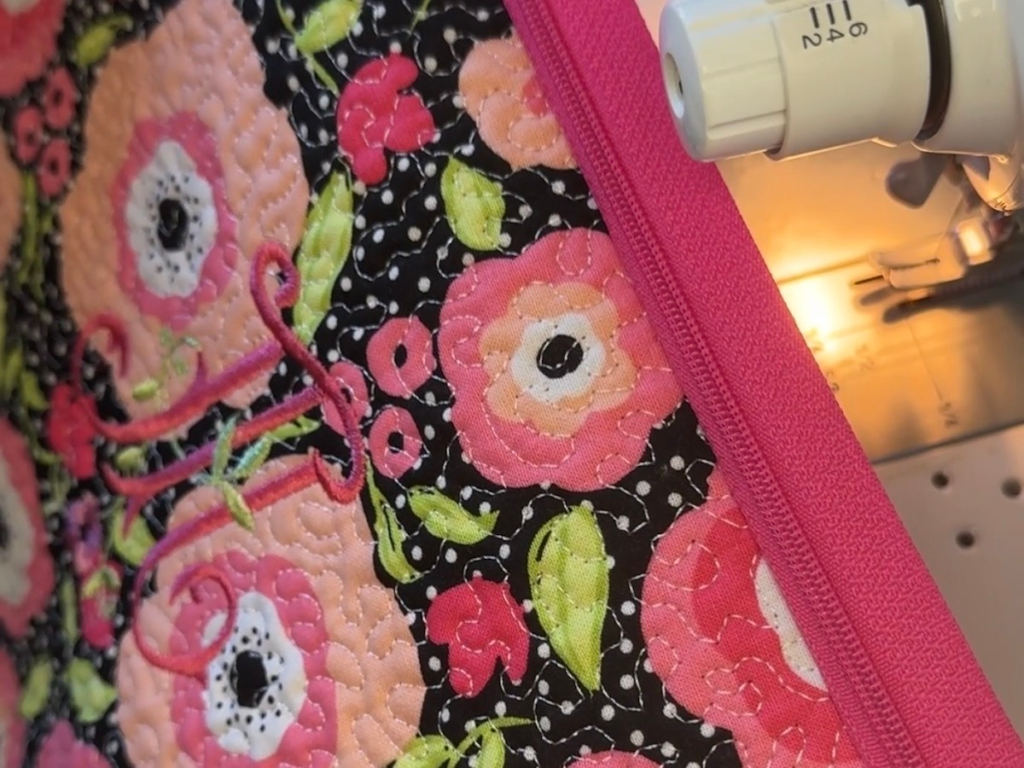
Step 2: Attach the Zipper (Part 1)
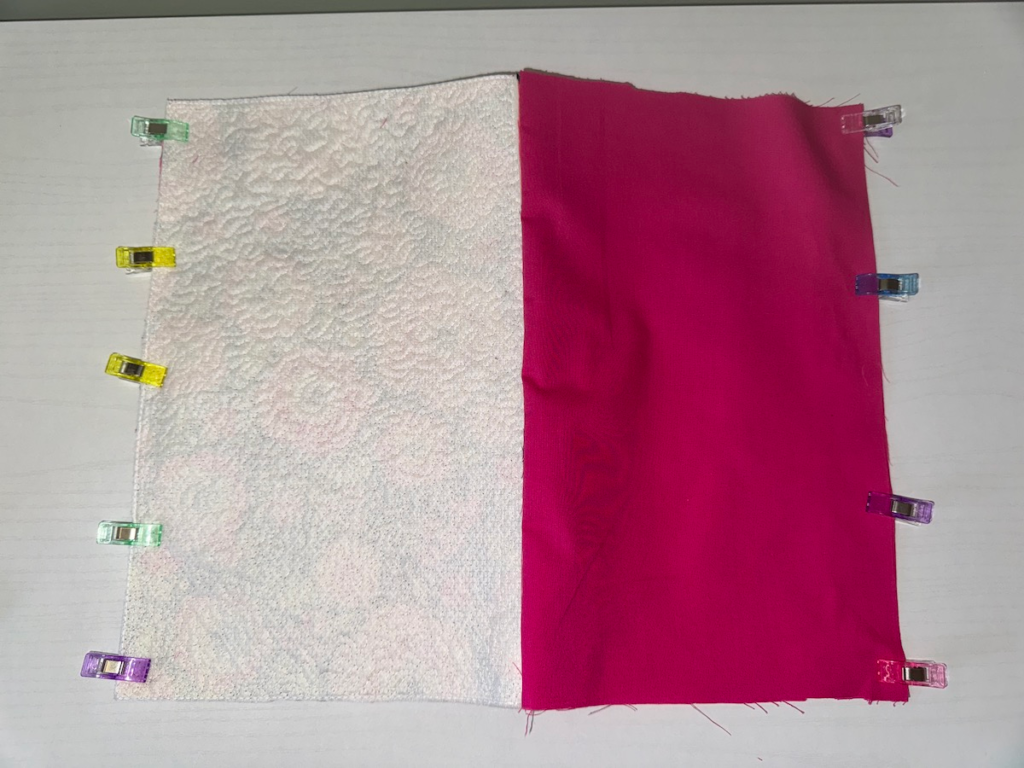
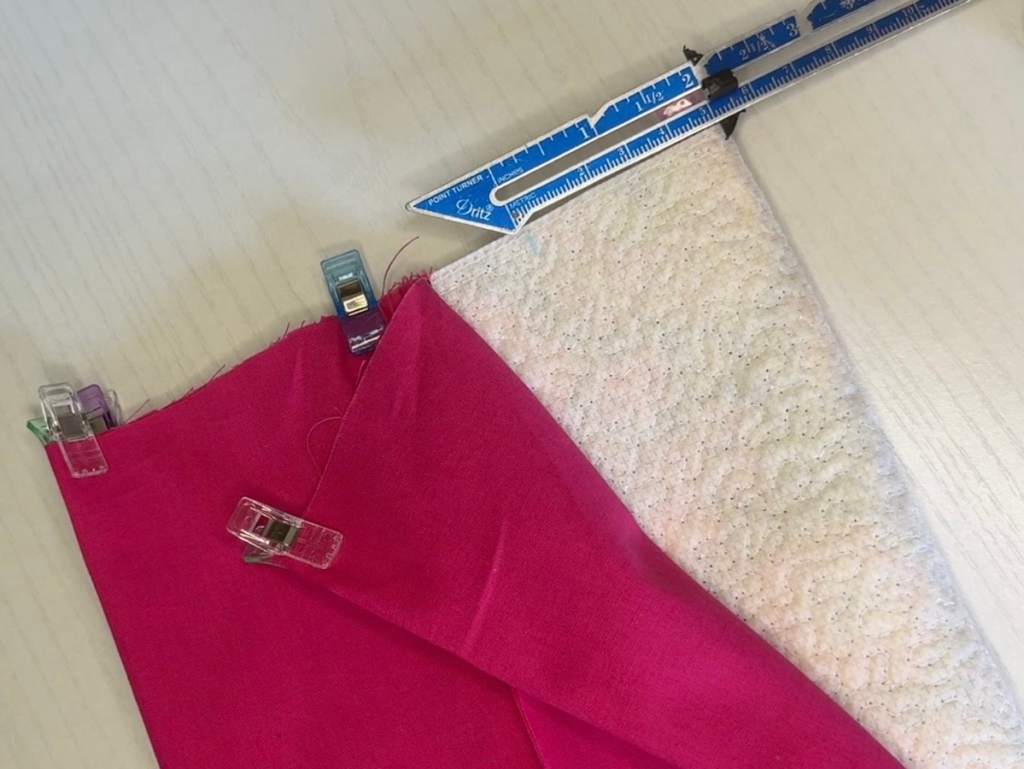
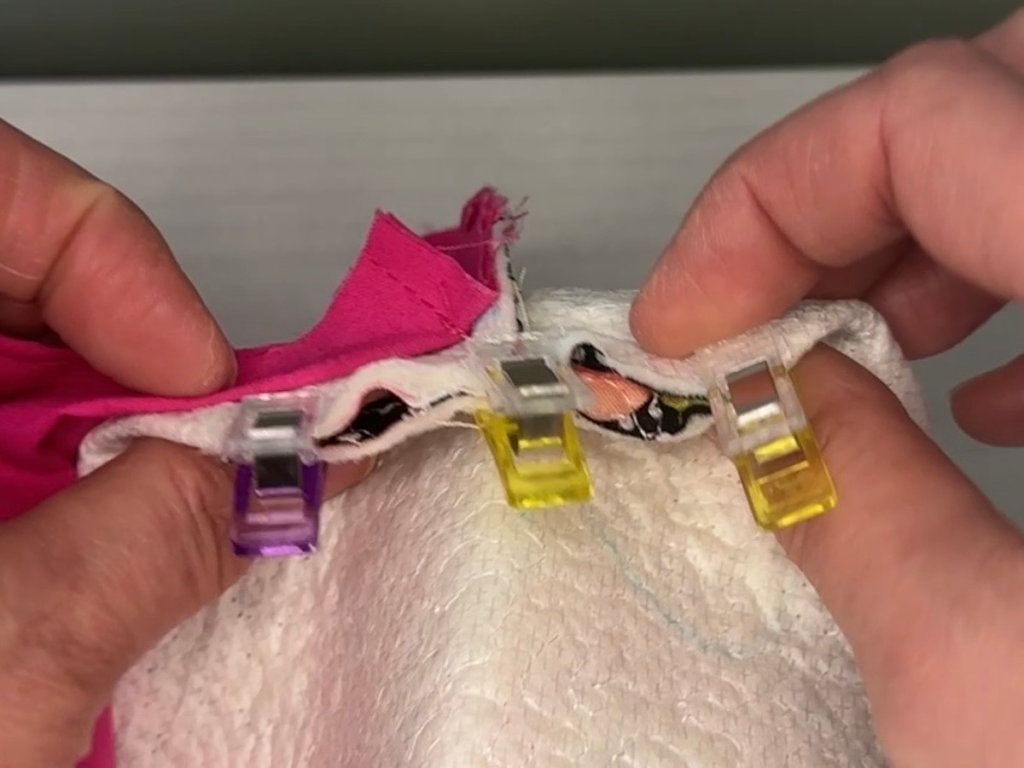
Once you have all of your pieces cut out, lay the zipper face down on the right side of one of your outer pieces. Then place one lining piece on top, right sides together, lining up the edges of all three layers (outer, lining, and zipper). Clip or pin everything in place.
Sew the seam using a zipper foot or narrow foot close to the zipper teeth, which is about a 1/4 inch seam allowance. Backstitch at the beginning and end.
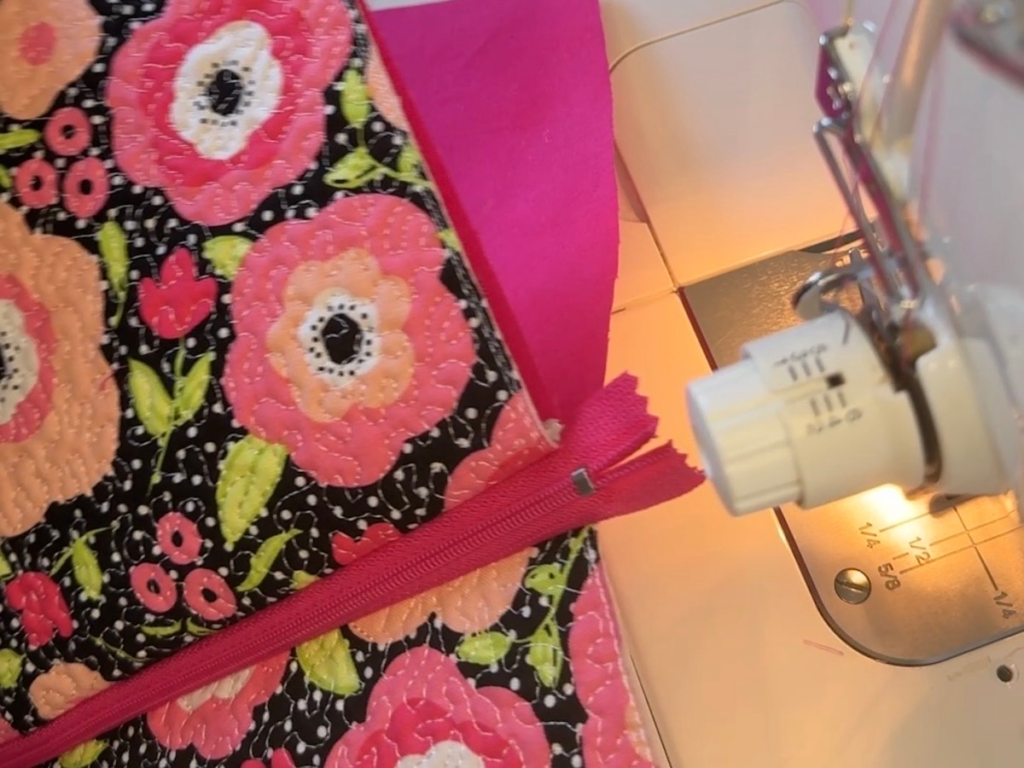
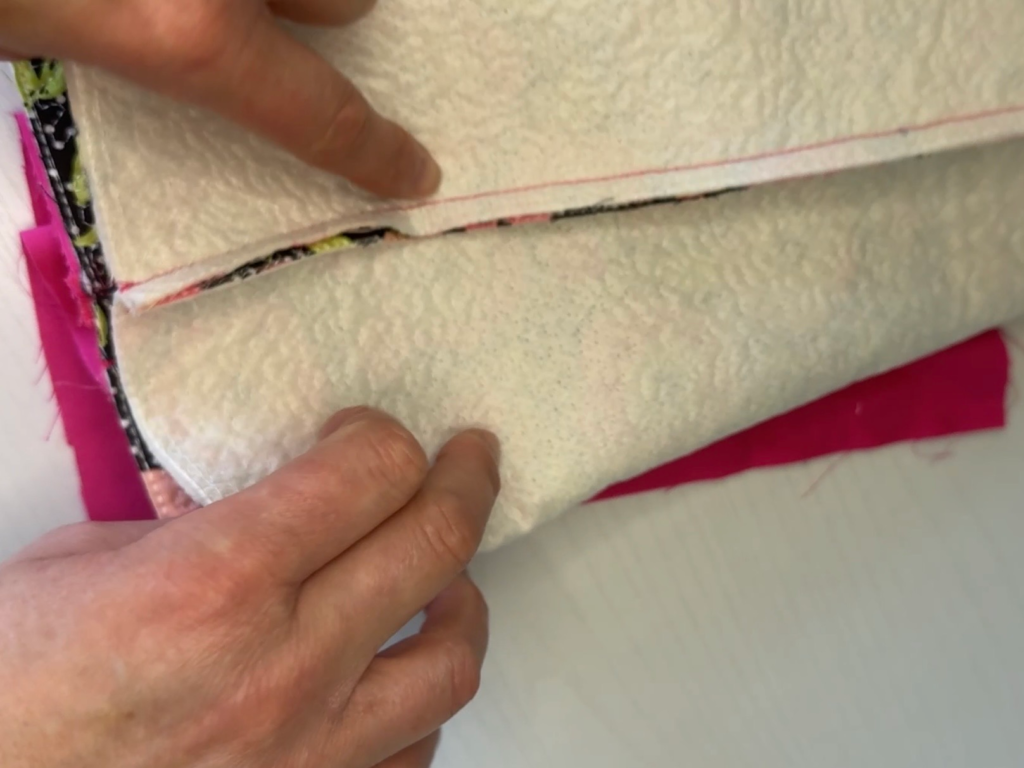
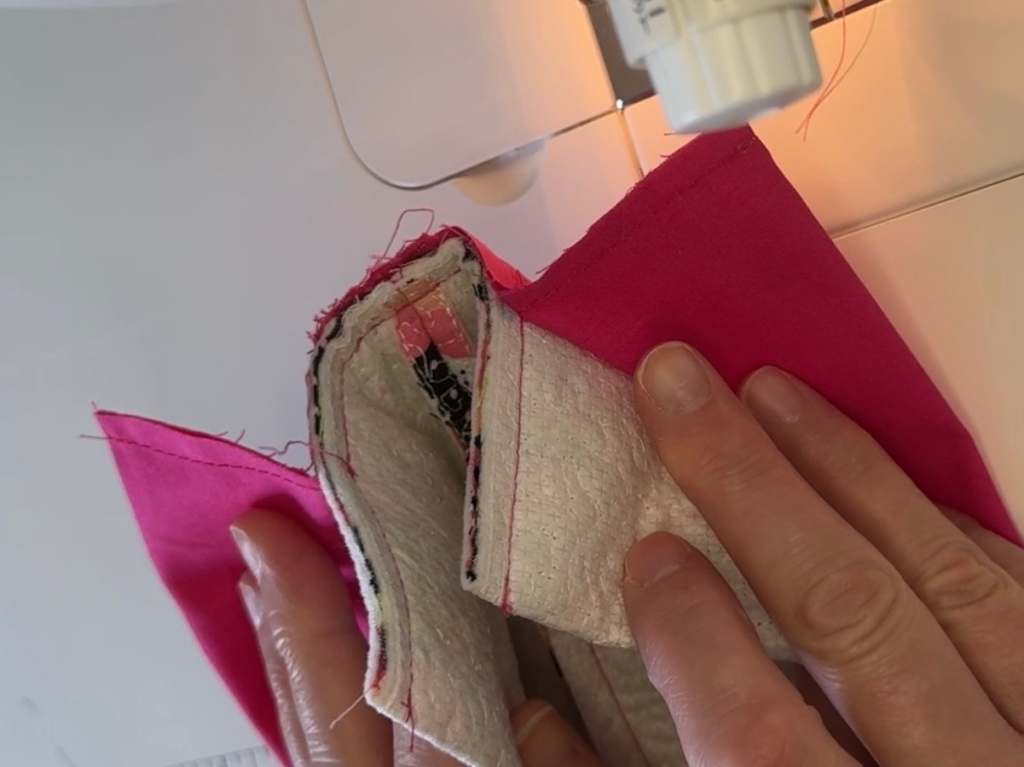
Flip the fabric so the right sides are facing out. One long edge of the zipper should be sandwiched between the outer and lining fabric.
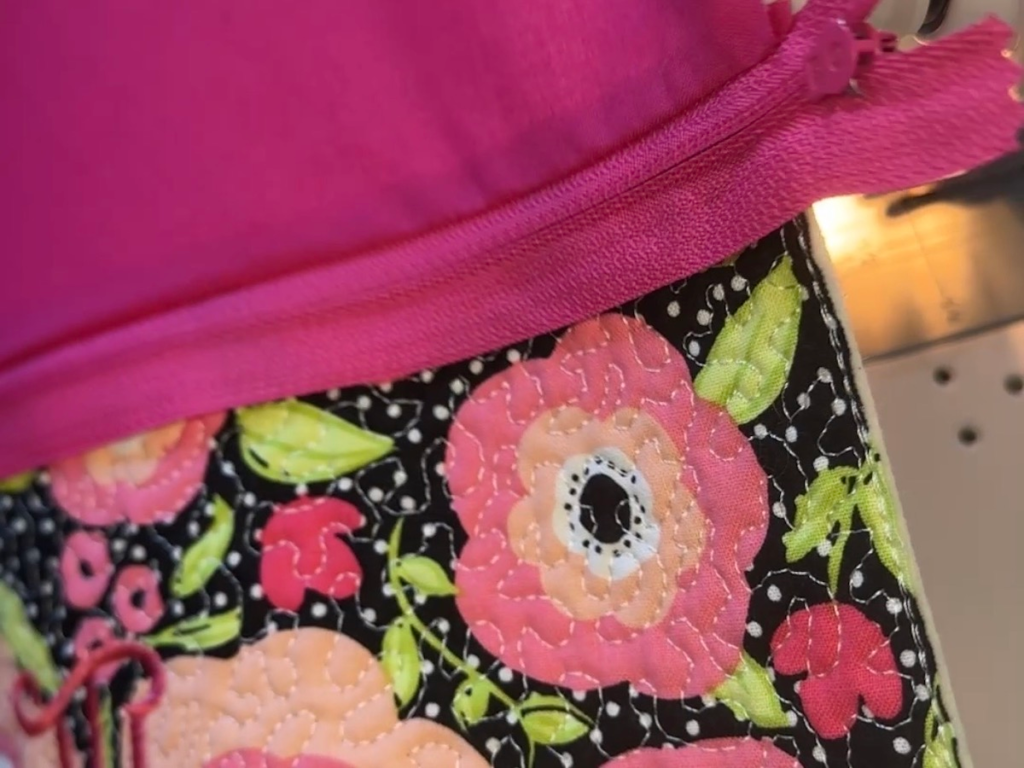
Before completing the next step your zipper should look like the picture below. Your lining fabric should be flipped behind the outer fabric, wrong sides together, and the free edge of the zipper should be at the top.
Step 3: Attach the Zipper (Part 2)
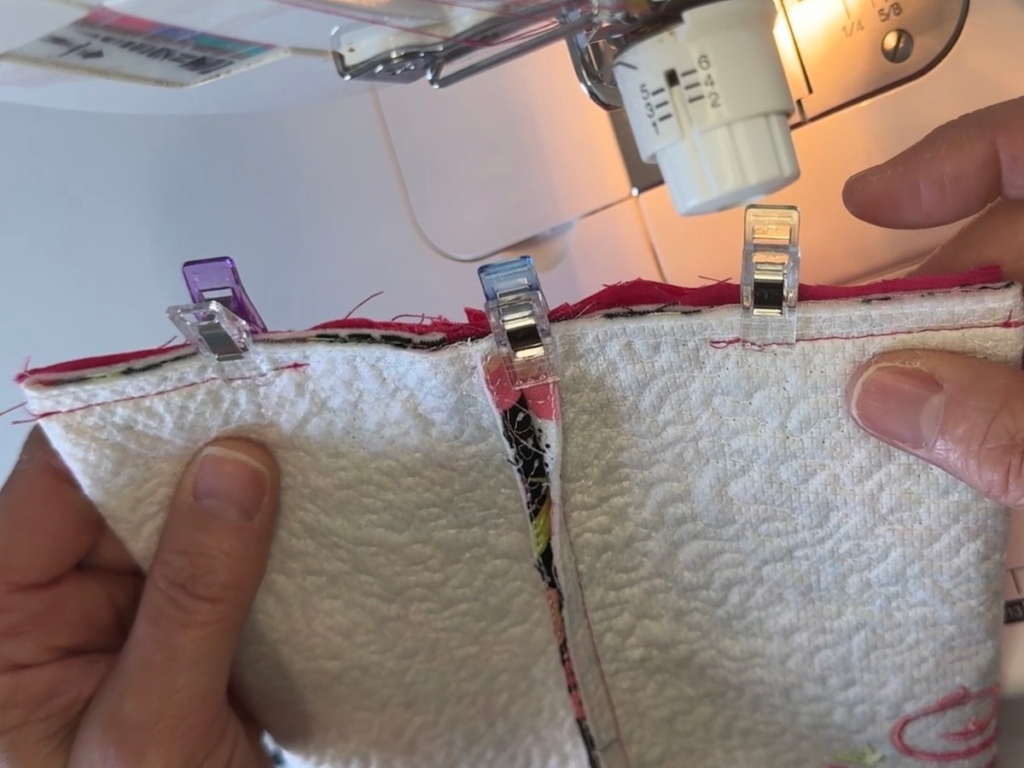
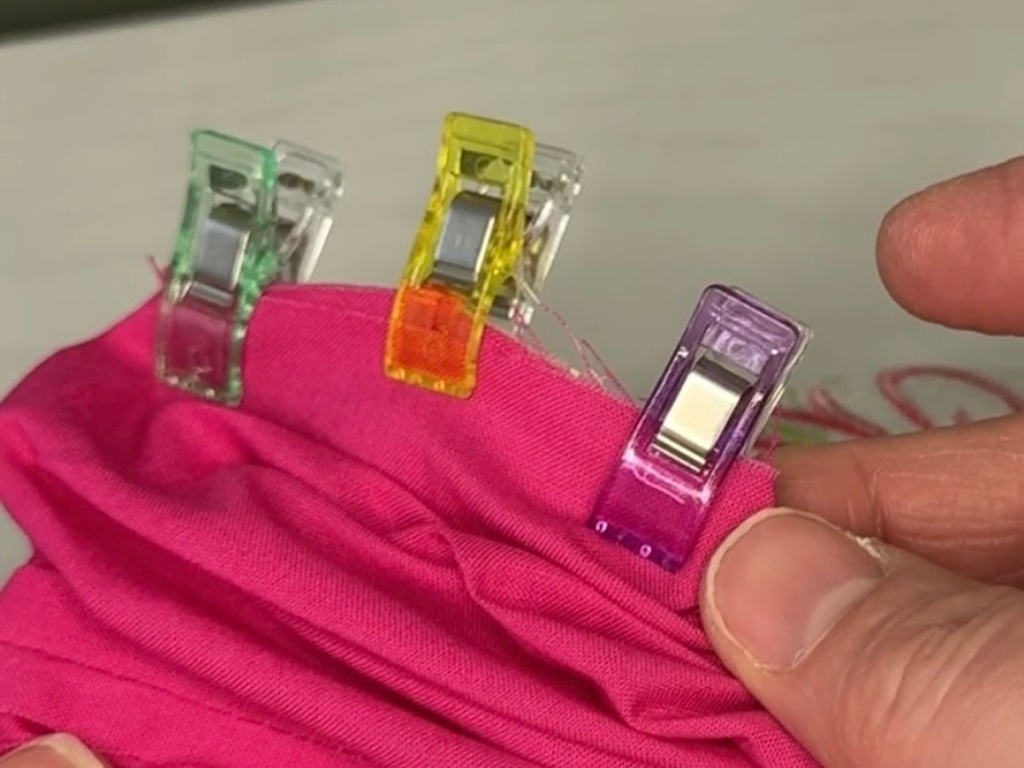
This step is just like the previous step except one side of the zipper has already been sewn in place. Lay the second outer piece on top of the zipper and clip or pin it in place temporarily.
Then, add the second lining piece on top of the first, lining up the edges and clip or pin in place.
Sew this seam like the first, using a 1/4 inch seam allowance. Backstitch at the beginning and end.
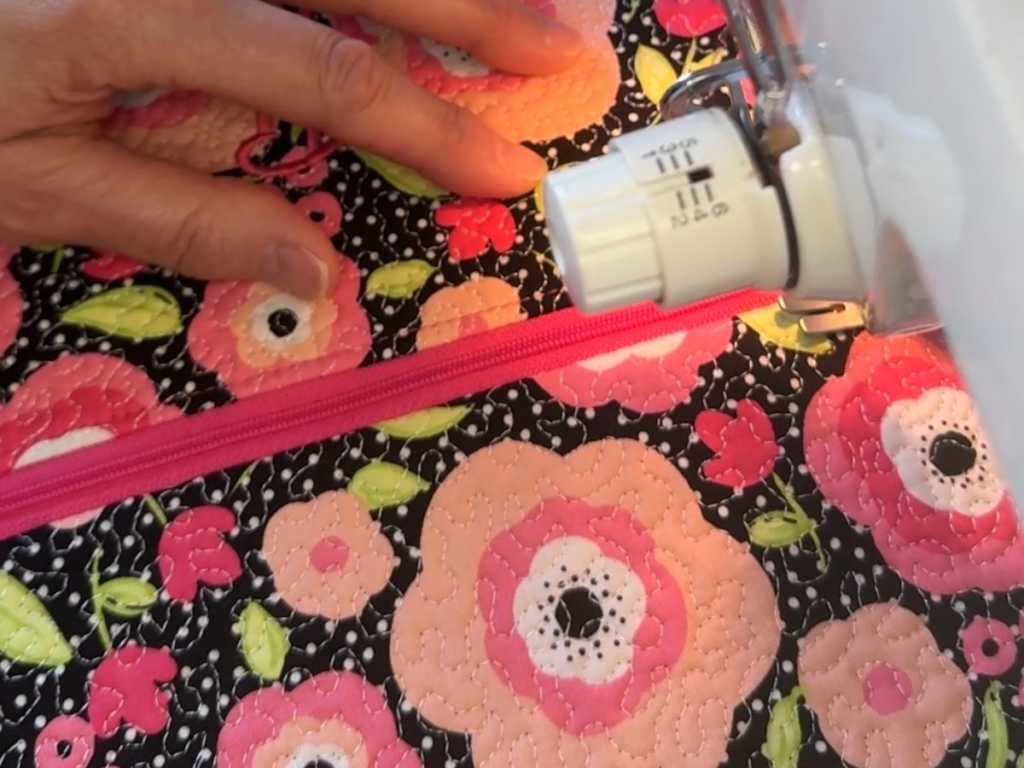
Step 4: Topstitch the Zipper
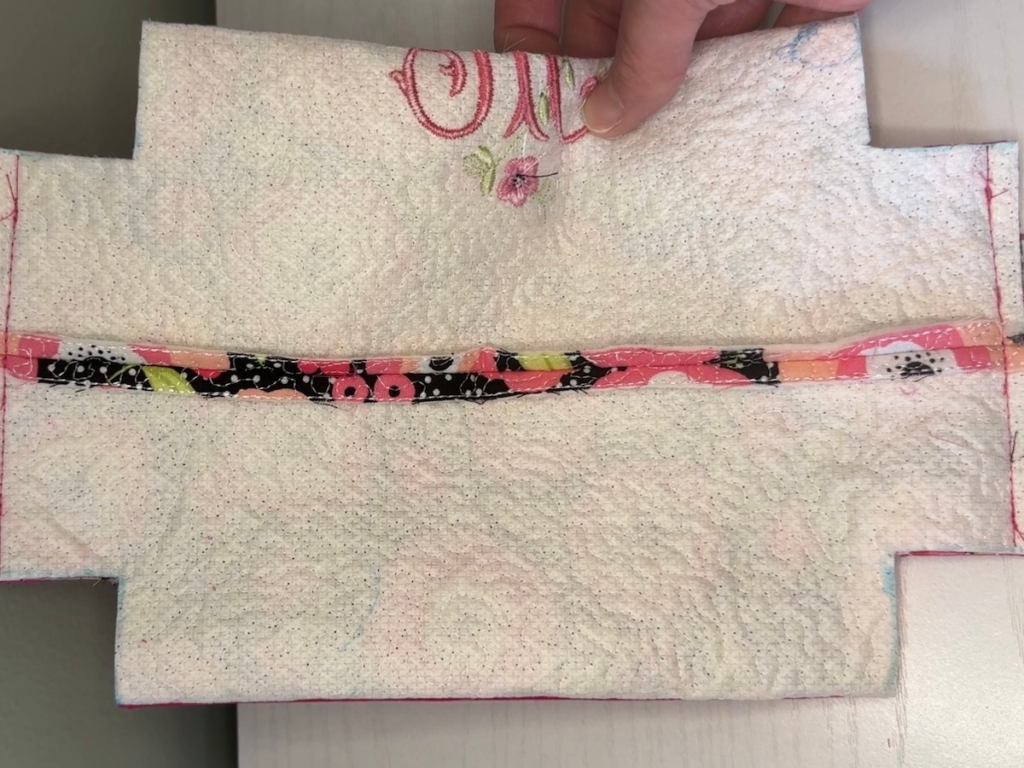
Press the zipper flat so it’s ready for topstitching.
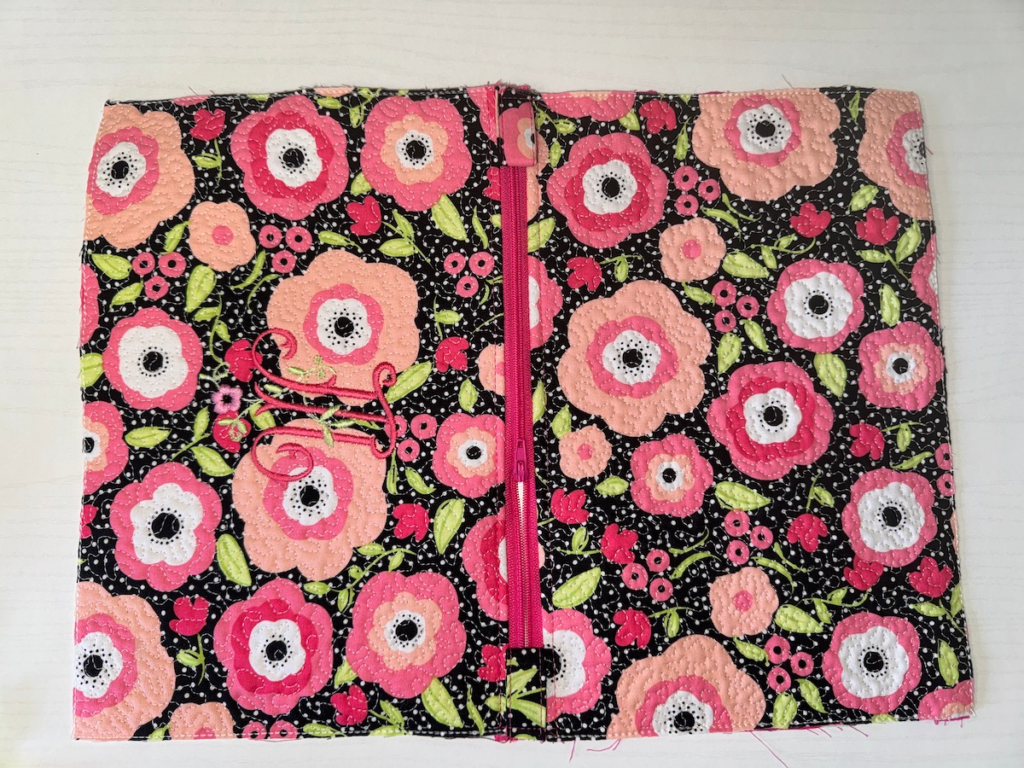
Topstitch along both sides of the zipper, about 1/8–1/4 inch from the edge of the outer fabric.
Step 5: Zipper Pull Tabs
Cut a piece of fabric that is 6 inches by 2 1/2 inches. Fold the piece in half and press. Then fold the raw edges into the center and press again. Fold the fabric in half one more time and press.
Topstitch on both long sides of the fabric strip, about 1/8 inch from each edge. Cut the strip in half to create two zipper pull tabs.
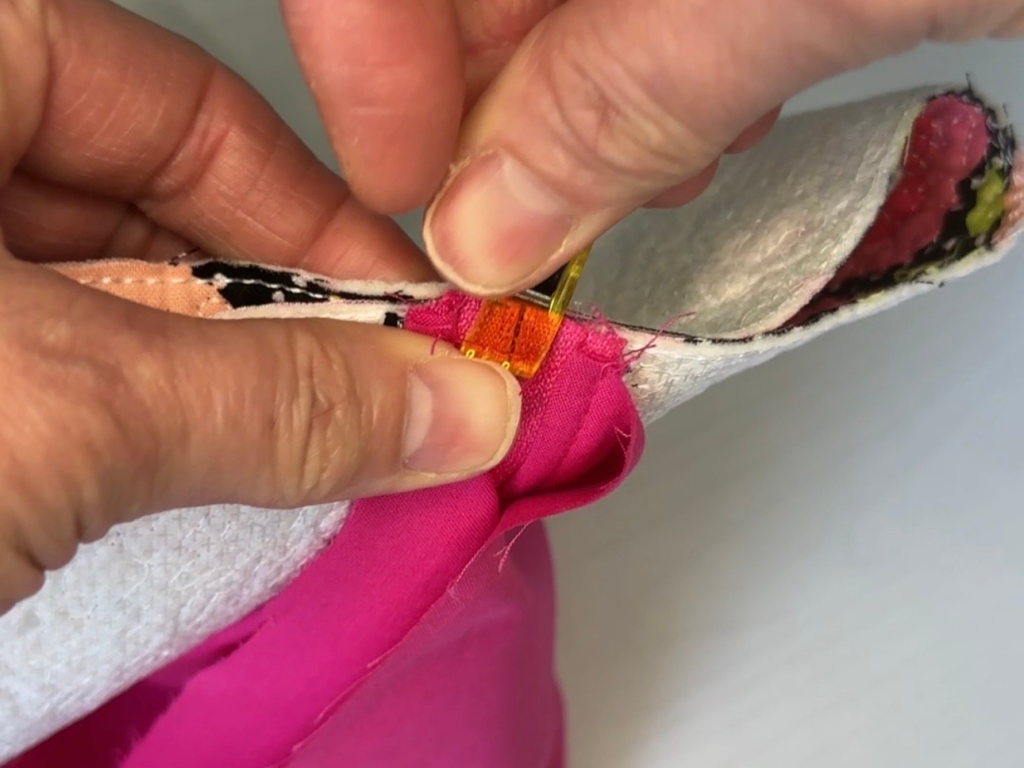
Lay the folded tabs on the ends of the zipper, raw edges even, clip or pin, and stitch in place.
Step 6: Assembling the Bag
Fold outer fabric pieces right sides together and clip or pin edges. Also, fold lining fabric right sides together and clip or pin but leave a 4-inch gap for turning.
Sew the outer clipped/pinned edges using a 1/4 inch seam allowance, backstitching at the beginning and end. Be sure to leave a 4-inch gap in the center of the lining.
This next part was easier to explain in my video, so it might be beneficial to watch it. However, I will do my best to write what I did in a way that will hopefully make sense.
Outer Fabric Folding
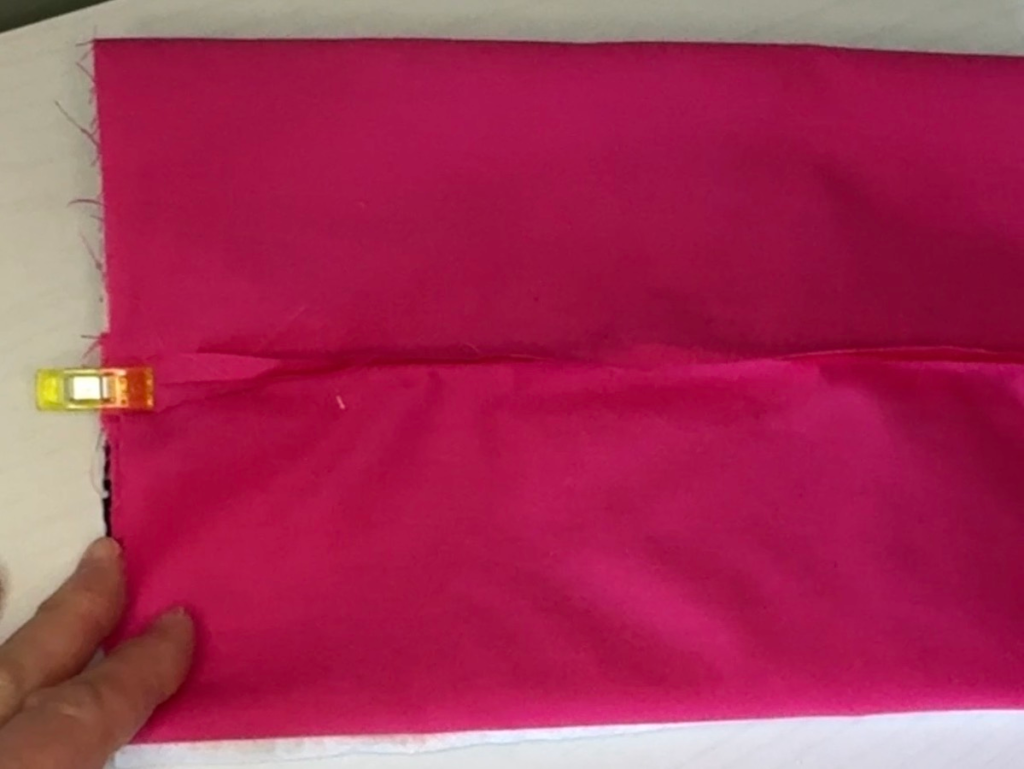
Fold the bag so the outer fabric is right sides together.
Line up the long seam you just sewed so it is centered directly under the zipper.
Clip or pin the short raw edges of the outer fabric together.
You will notice that only a small bit of lining is attached at the center. The rest of the lining should be out of the way.
Repeat this on the other short side of the bag.
Lining Fabric Folding
Flip the bag over so you’re working with the lining.
Fold the lining so it is right sides together, again centering the seam line with the zipper.
Clip or pin the short edges of the lining together. Keep the lining and outer fabric separate. Do not clip them together yet.
Repeat on the second short side.
Step 7: Sewing the Short Edge Seams
On each short edge, measure 2 inches from the outer edge.
Make a small mark on both sides of the outer fabric and lining fabric. You should end up with 8 markings (4 outer and 4 lining).
Sewing the first seams
Using a ¼-inch seam allowance, sew from each marked point to the outer edge of the fabric on both the outer fabric and lining fabric.
You should have 8 total 2-inch seams, and the middle of each short side will still be open.
Sewing Between the Seams
On each short end of the bag, sew between the previously stitched lines, sewing through all layers. Do this on both short sides of the bag.
Notice that the middle section is the only part that is sewn together. The two inches on each side of the outer fabric and lining fabric should still be free.
Step 8: Boxing the Corners
Lay the bag flat. On each of the four corners, measure 1½ inches from the side and 1 ½ inches from the bottom.
Make markings for cutting and cut out a square at each corner.
Outer Fabric Box Corner Sewing
Working with the outer fabric only, pinch each cut corner so the side seam and bottom seam line up.
Clip or pin each corner in place.
Sew each corner using a ¼-inch seam allowance, backstitching at the beginning and end.
Lining Fabric Box Corner Sewing
Now bring the lining corners up to meet the seams you just sewed on the outer fabric.
Clip or pin the lining to those seams.
Sew another ¼-inch seam allowance at each corner.
The lining can be a little tricky, so it’s fine to do two corners at a time.
Step 9: Finishing the Bag
Turn the bag right side out through the opening left in the lining. Push out the corners and smooth the lining inside the bag.
Clip or pin the lining opening closed.
Sew the opening closed with a narrow seam (about ⅛ inch) or stitch it by hand.
Turn the bag fully right side out and shape it.
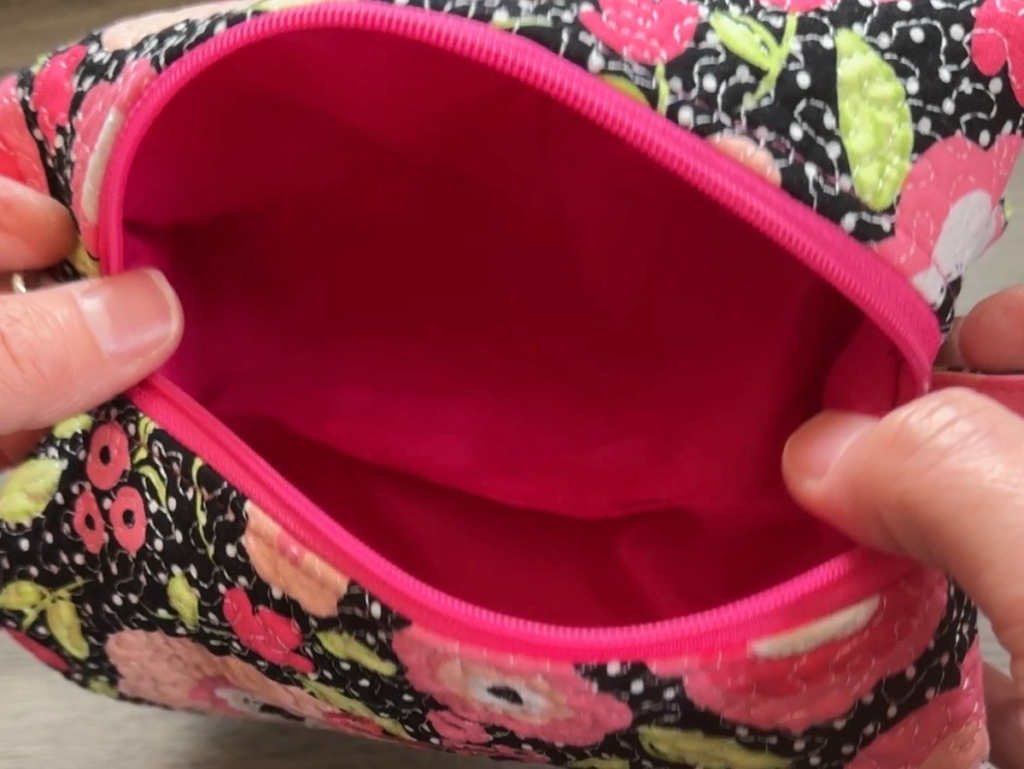
That’s it! Your boxy bag is complete.
Watch the Full Tutorial
Here’s the full video if you want to see each step in action.
If you make one of these boxy bags, I’d love to see it! Leave a comment, tag me on social media, or pin your favorite version on Pinterest.
Happy sewing!
Jackie